
Deployment of the nurse station
If you have already played with the settings of your device, you may want to first reset it to factory defaults by going to Settings, Advanced, System Security, and then choose Factory Reset.
Step 1: check Grandstream phone IP address
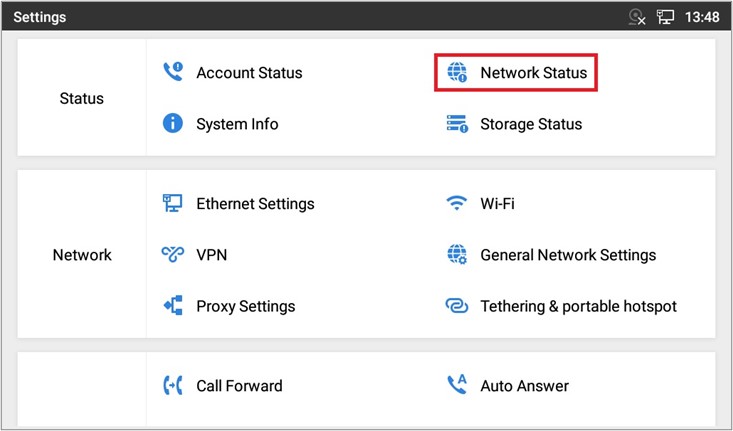
In the Settings screen, tap Network Status in the Status category:
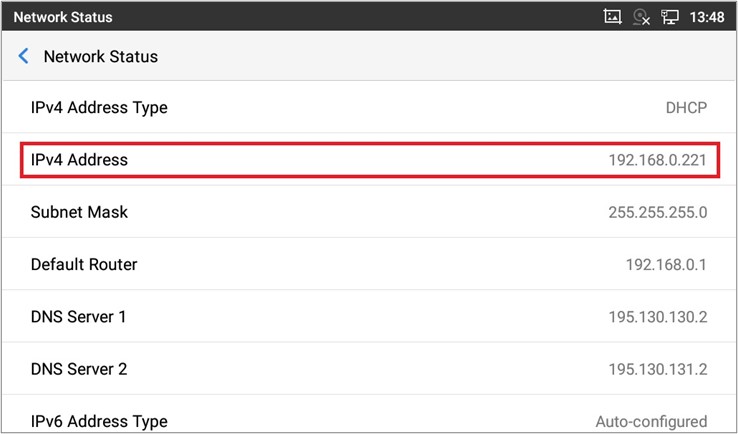
From the Network Status screen, note the IPv4 Address:
Step 2: activate the web-based administration UI of the Grandstream phone
Using a laptop, navigate to the address you noted in the last step using a web browser. This will bring up the web-based administration UI of the phone.
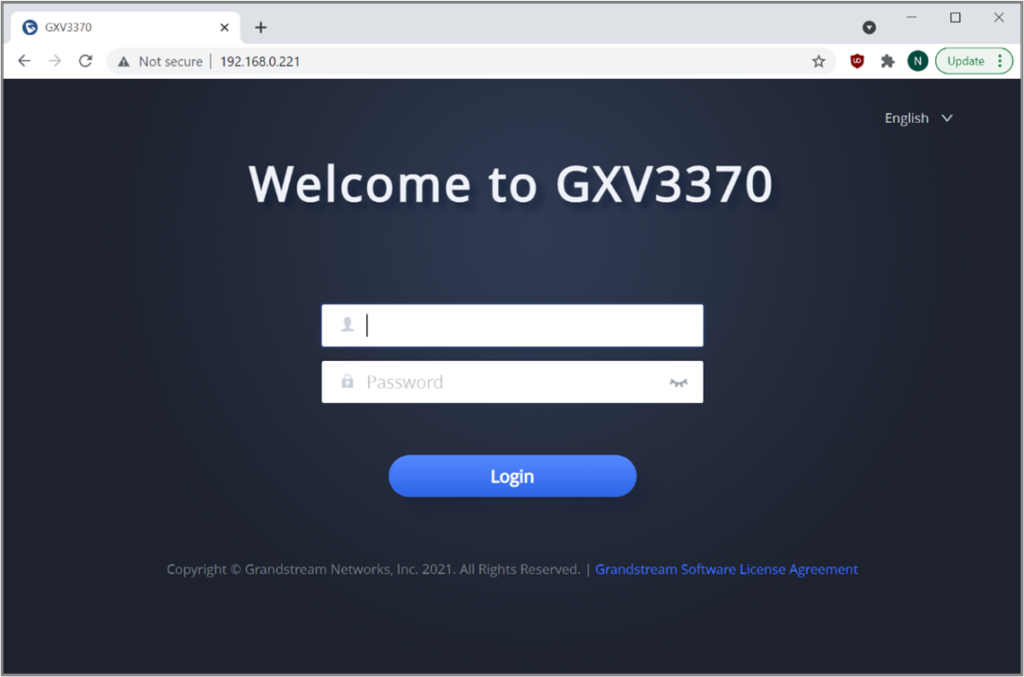
The very first time you must log in with the following details:
- User name: admin
- Password: admin
The device will then require you to change the password.
Should you have already used the web-based administration UI, and you cannot remember the password, you must first reset the device to factory defaults.
Once you are logged in, navigate to System Info (under Status in the sidebar):

Verify that you have System Version equal to 1.0.3.27, as shown in the screenshot.
1.3. Step 3: upgrade the firmware (optional)
From the sidebar, navigate to Maintenance, Upgrade. Download the latest firmware file from https://firmware.grandstream.com/Release_GXV3370_1.0.3.27.zip
Once the download has completed, unzip the file to get a .bin file.
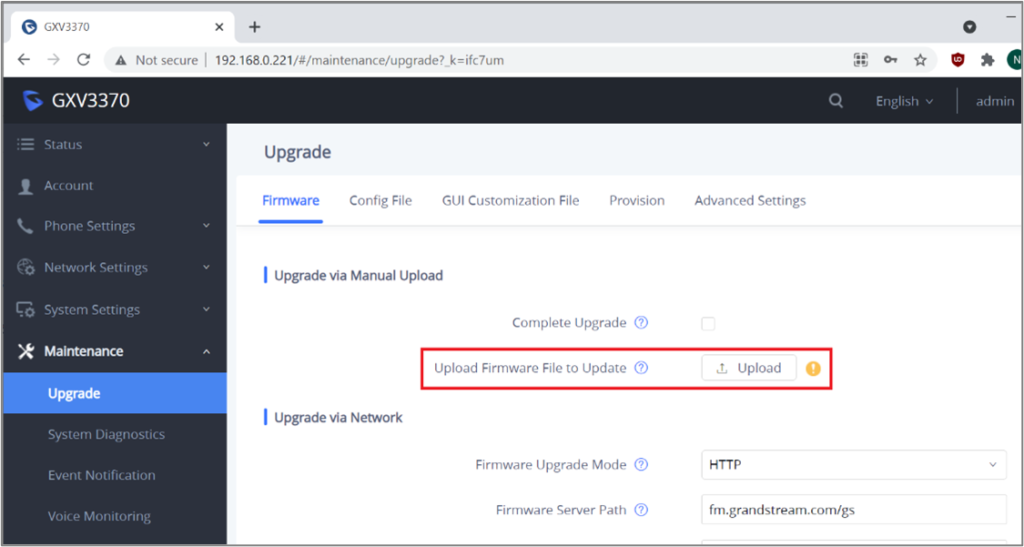
Under Upgrade via Manual Upload, leave Complete Upgrade unchecked, and use the Upload button to select the .bin file you just unzipped.
Wait for the upload to complete, and then follow the instructions displayed in the web UI. Your device will reboot. When the reboot has completed, you need to log in once again to the web-based UI.
1.4. Step 4: disable mDNS Override Server
From the sidebar, navigate to Maintenance, Upgrade. Navigate to the Advanced Settings tab.

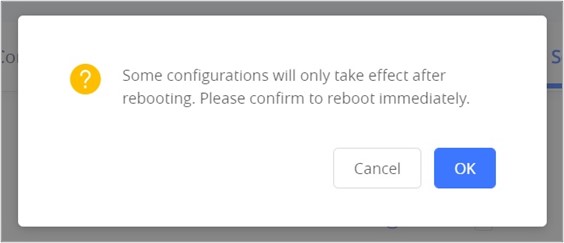
Change the mDNS Override Server setting to Disable. Click Save, and then OK to reboot the device.
Wait for the device to reboot.
1.5. Step 5: enable installation of applications from unknown sources
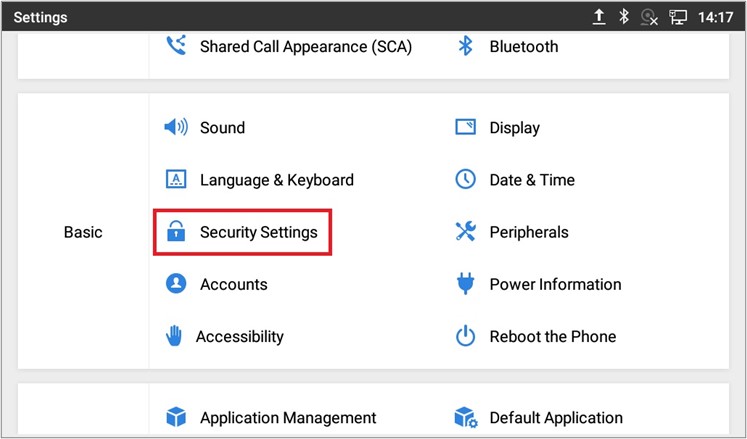
On the device, navigate to Settings, and tap Security Settings in the Basic category
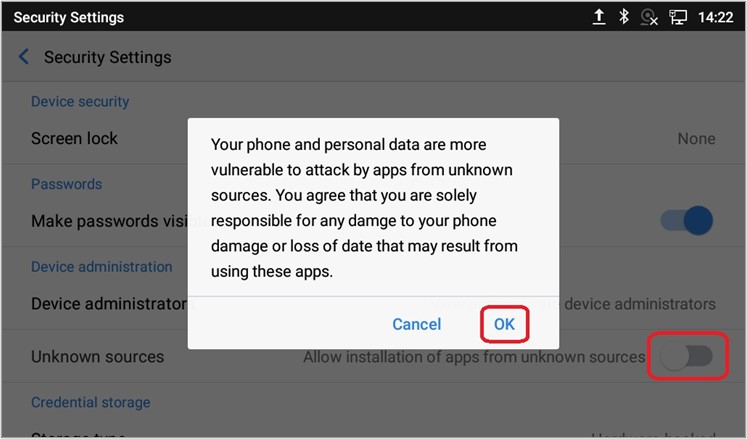
In the Security Settings screen, make sure Allow installation of apps from unknown sources is enabled (blue slider). The default is disabled (grey slider). When you enable this setting, you will see a confirmation prompt:
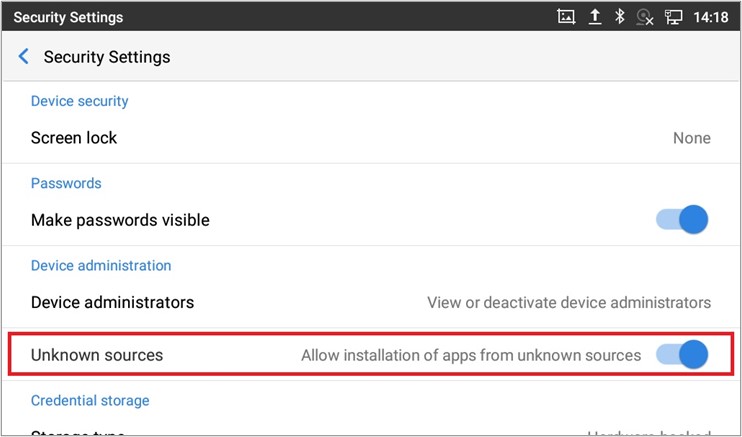
Click OK to accept this disclaimer, then verify that the slider turns blue:
1.6. Step 6: install the Essentials APK
The Essentials APK can be transferred to the device in various ways:
- Using a USB stick
- Using Bluetooth file transfer with a paired device
- By downloading the APK through the web browser on the device
- By uploading the APK to the FTP server built into the File Manager app
- …
I have deleted the bad APK from this ticket. I will attach the correct one after sending this update.
Once you have transferred the file to the device in any of the ways described above, open the file. The Package installer should pop up the following window:

Tap Install and wait for the installation to complete.
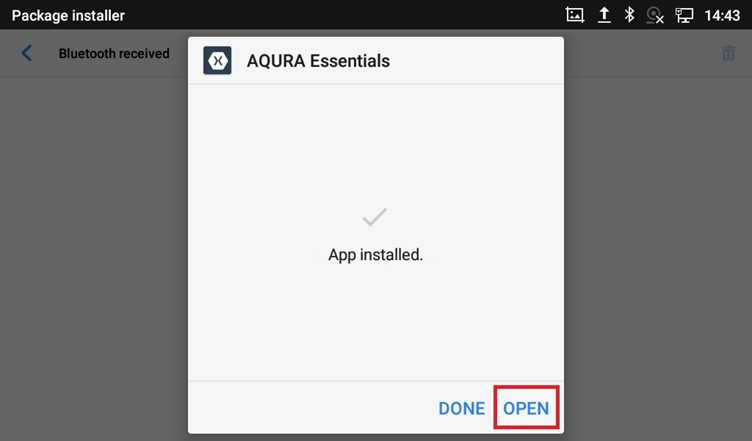
When the application has been installed, make sure your ward controller is connected to the same network segment as your Grandstream phone, and click Open.
1.7. Step 7: first-time setup of the Essentials app
The Essentials app will open to the following screen:
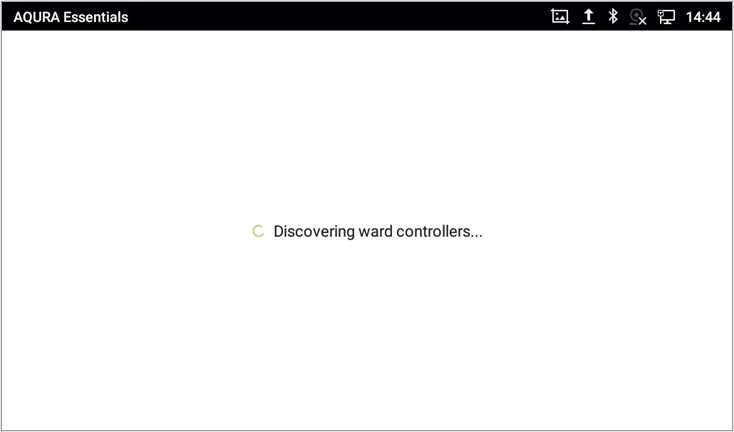
NOTE: The 7” GXV3370 has a known issue with the discovery of ward controllers – sometimes it can take up to 20 minutes before a Ward controller is discovered. The 8” GXV3380 does not have this problem.
Once the ward controller has been discovered, the app will connect to its web UI and request permission to make calls:

You need to Allow making and managing phone calls, otherwise, the functionality to call back a room with an active nurse call from within the app will not work.
When done, tap the cogwheel in the sidebar, and open the Network tab:
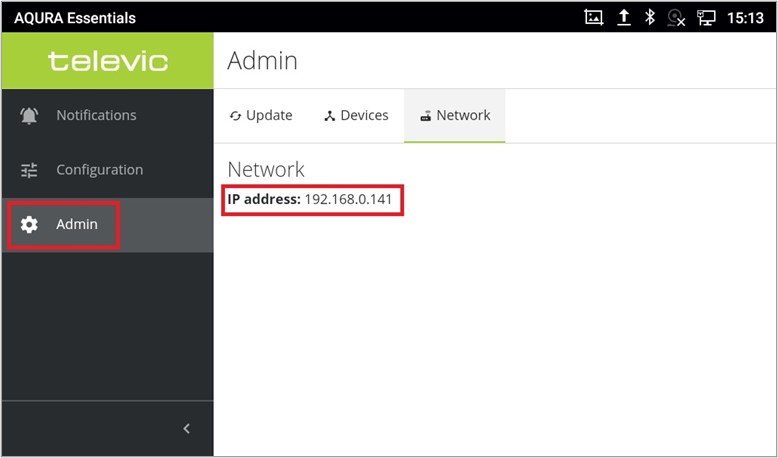
Note the IP address of your ward controller.
1.8. Step 8: SIP account setup
In the Settings screen of your Grandstream phone, in the Advanced category, tap Account Settings
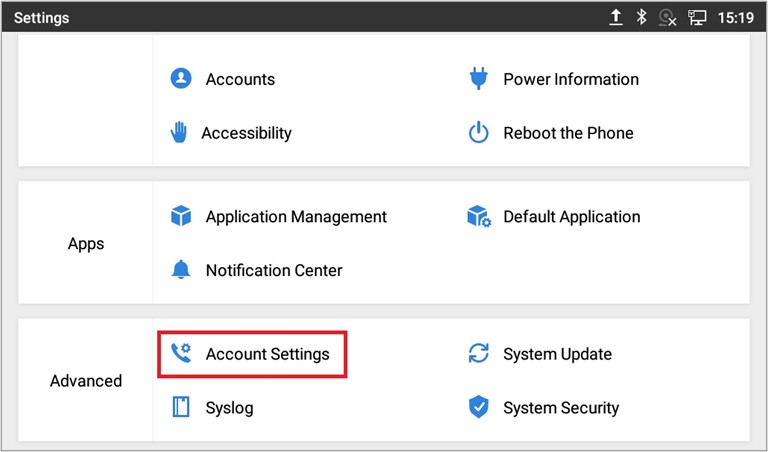
This brings you to a screen in which you can set up multiple SIP accounts:

Tap Account 1. Fill in the following details:
- SIP Server: the IP address of the ward controller you noted in the previous step.
- SIP User ID: pick an ID between 1000 and 1031 (inclusive). Make sure every Grandstream phone connected to one ward controller has a unique SIP User ID.
- SIP Authentication Password (case sensitive!): yDK01eTmPCE15Ujd
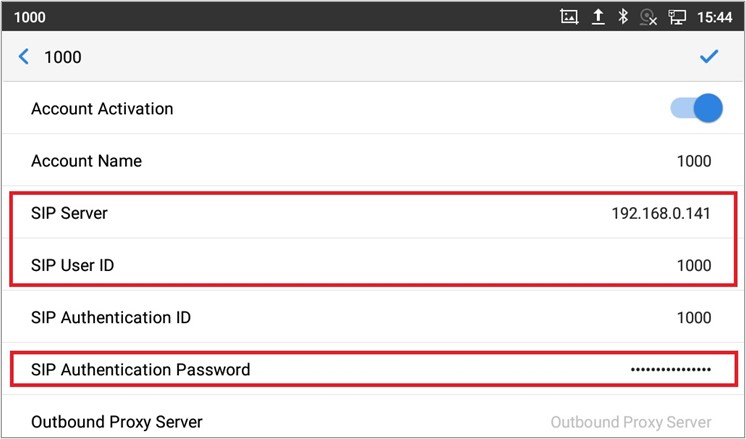
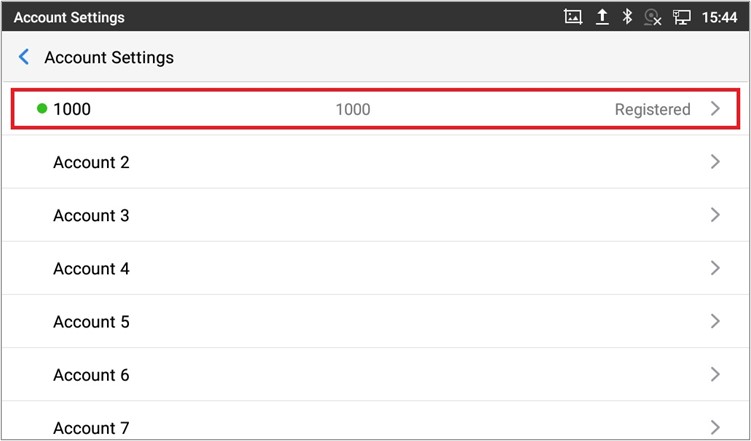
Your phone will automatically fill in the Account Name and SIP Authentication ID based on the SIP User ID.
When SIP registration succeeds, you will see this in the accounts list:
1.9. Step 9: testing
You are now done with the setup of your Grandstream phone.
You can relaunch the app from the launcher on the phone:

2. Tips and tricks
- You can make screenshots on the Grandstream phones by holding the Home button for 2 seconds.
- The web view in our Android application can be refreshed by swiping downwards, as is usual in Android apps.
- You currently cannot update an Essentials system through the Android app.